
How to Choose Tile Leveling Spacers in 2026?

Choosing Tile Leveling Spacers in 2026 requires more than selecting the cheapest box online. Tile format, joint width, thickness variation, and installation speed all influence the right system. A spacer that works beautifully with 600 x 600 mm porcelain may perform poorly on narrow mosaics or uneven handmade tiles.

Tile Leveling Spacers help align adjoining tiles and reduce visible lippage during curing. They do not correct a weak substrate. The floor must remain flat, clean, and properly prepared. Experienced installers also check the manufacturer’s instructions, because clip strength and wedge design vary between brands. Small details matter. A tight wedge can damage soft tile edges, while a loose clip may create uneven joints.

This guide examines reusable caps, disposable clips, cross spacers, and T-shaped options for different layouts. It also considers joint sizes, tile thickness, removal methods, and practical waste. For example, a 2 mm joint may suit rectified porcelain, while rustic tiles often need more visual tolerance. Large-format panels demand careful handling and frequent alignment checks.

The best choice is not always the most advanced one. Sometimes, a simple cross spacer gives better control. That can be overlooked. Installation experience also reveals an uncomfortable truth: even premium leveling systems cannot rescue rushed preparation. Reliable results come from matching the spacer to the tile, substrate, layout, and installer’s working habits. This article offers a practical, evidence-informed framework for making that decision in 2026.
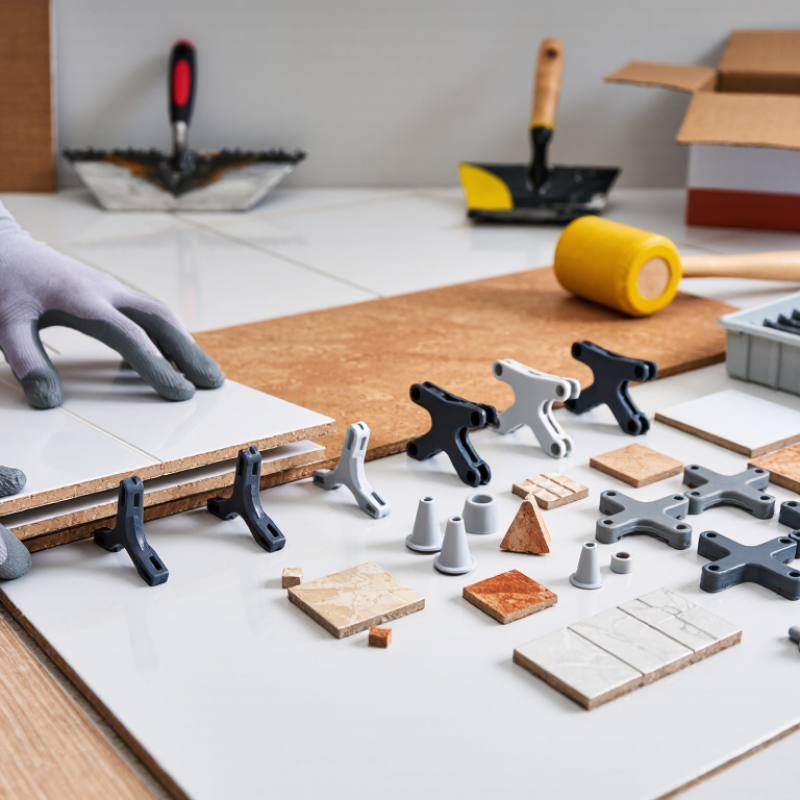
How to Choose Tile Leveling Spacers in 2026?

Classify Tile Format and Joint Widths Using ANSI A108.02’s 1/16-Inch Minimum

How to Choose Tile Leveling Spacers in 2026?

Choosing tile leveling spacers starts with two measurements: tile format and planned joint width. ANSI A108.02 identifies 1/16 inch as the minimum grout joint width in applicable installations. However, that number is not a universal shortcut. The joint must also accommodate actual tile size variation. Measure several tiles from different boxes before selecting spacers.

For small, consistent tiles, narrow spacers may create clean and manageable joints. Large-format tiles need closer attention to lippage, warpage, and substrate flatness. A leveling spacer can hold adjacent edges, but it cannot correct a deeply uneven floor. I have seen installers blame the spacer when the floor caused the problem.

Check whether the tile is rectified or non-rectified. Rectified edges usually support tighter, more uniform joints, while pressed edges often require additional width. If tile edges vary by 1/16 inch, a 1/16-inch joint may look uneven and leave insufficient grout coverage. A practical rule is to keep the joint at least three times the tile’s facial variation, while following the project specification and manufacturer instructions.

Do not trust the package alone. Dry-lay a small section and inspect the intersections from standing height. The pattern may look perfect on a sample board, then shift across a full room. That mistake is easy to miss early. Record the measured tile variation, joint width, and spacer type before installation. Temperature, adhesive movement, and cleaning pressure can also affect the final result.

Match Spacer Geometry to Tile Thickness, Layout, and 1–3 mm Joint Sizes

Choosing tile leveling spacers starts with the joint, not the package label. For 1 mm joints, use slim cross or T-shaped spacers with precise, narrow contact points. They suit rectified porcelain with consistent edges. A 2 mm joint offers more tolerance for slight size variation. For handmade, textured, or uneven tiles, a 3 mm joint usually reduces visible misalignment.

Match the spacer geometry to tile thickness as well. Thin tiles need a shallow clip that will not press above the surface. Thick tiles require a deeper throat and stronger wedge clearance. Check the manufacturer’s stated thickness range against the tile and adhesive bed together. A 10 mm tile may sit closer to 12 mm after adhesive compression. That small difference matters. Dry-fit several pieces before spreading mortar.

Layout also changes the best choice. T-spacers work well along staggered running bonds, while cross spacers simplify grid layouts. For narrow joints, select a leveling system that pulls edges together without distorting the pattern. Place clips near corners, but keep them slightly away from the tile edge. I have sometimes placed them too close, causing chips during removal. That mistake is easy to repeat. Remove clips only after the adhesive has firmed, and strike them along the joint direction. Check the joint with a gauge, not just your eyes, because a clean-looking 2 mm gap can vary across one wall.

Select Clip-and-Wedge Systems for ANSI’s 1/32-Inch Lippage Limit

How to Choose Tile Leveling Spacers in 2026?

For rectified tile, ANSI A108.02 sets allowable lippage at 1/32 inch, or about 0.8 millimeters, excluding tile warpage. That limit is small enough to feel under a bare foot. It also becomes obvious beside a window. Choose a clip-and-wedge system that matches the tile’s thickness, joint width, and format. The 2024 NTCA Reference Manual emphasizes that leveling devices cannot correct an uneven substrate.

Use clips that hold the tile edges firmly without narrowing the planned grout joint. For 1/16-inch joints, select compatible clips rather than forcing wider spacers into place. Wedges should provide steady pressure, not excessive force. Tighten them by hand. A rubber mallet may help seat the wedge, but aggressive tapping can move the tile or damage its edge.

Large-format tile needs more planning. ANSI installation guidance limits substrate variation to approximately 1/8 inch over 10 feet for many applications. Measure with a straightedge before spreading mortar. A leveling system helps maintain alignment, but it does not replace proper mortar coverage or back-buttering. The 2024 NTCA guidance also stresses checking coverage during installation, especially in demanding wet areas.

One detail is easy to miss. Clips can leave stress points when the tile edges are fragile. I would test one small area first. Remove clips in the correct direction after the mortar firms, then inspect the joint before grouting. Even careful systems sometimes need adjustment.

Calculate Spacer Quantity from Joint Intersections and Tile Dimensions

How to Choose Tile Leveling Spacers in 2026?

Calculate Spacer Quantity from Joint Intersections and Tile Dimensions

Spacer quantity starts with the tile layout, not the package size. Measure the usable floor length and width, excluding movement gaps and wall allowances. Add the planned grout joint to each tile dimension. Then divide each room dimension by the combined measurement. Round down to find the number of full tiles in each direction.

For a grid with eight tiles across and six tiles long, the visible internal intersections equal seven by five, or 35 points. These intersections usually need cross spacers. Perimeter corners may require half spacers, wedges, or another edge solution. Count them separately. Large-format tiles often need additional leveling clips along each side, commonly two to four depending on tile length and manufacturer guidance.

My first estimates often missed cut tiles near doorways. That mistake taught me to sketch the actual layout before buying spacers. Add about 10 to 15 percent for breakage, misplaced pieces, and awkward corners. For example: 35 interior intersections plus 20 edge points equals 55 spacers. Buying 61 to 64 pieces gives reasonable working space. Tile size changes everything. A 600-millimeter tile creates fewer joints than a 300-millimeter tile, even in the same room. Check the dry layout twice. It is cheaper than stopping mid-installation.

Verify Compatibility with ISO 13006 Tile Tolerances and Manufacturer Data

Choosing tile leveling spacers in 2026 starts with tolerance verification, not packaging claims. ISO 13006:2018 defines dimensional requirements for ceramic tiles, including length, width, thickness, straightness, and surface flatness. For one common pressed-tile classification, length and width deviation can reach ±0.6%, with a maximum limit of 2 mm. These limits vary by tile group. Check the product declaration.

Measure the actual tiles.

Manufacturer data should confirm whether the tile is pressed, rectified, or naturally irregular. Rectified tiles usually support narrower joints, but they are not perfectly identical. A 600 mm tile with a 0.6% dimensional variation may differ by 3.6 mm, which can visibly shift a tight layout. A 2 mm spacer may then create uneven joint lines. I have seen this happen even on carefully prepared floors.

The Tile Council of North America Handbook emphasizes that lippage also depends on substrate flatness, tile warpage, and installation technique. A leveling system can reduce height differences, but it cannot correct a badly uneven substrate. Use a straightedge across several tiles, record the largest gap, and compare it with the manufacturer’s stated flatness data. Leave room for movement joints where required. My own mistake was trusting nominal tile size too quickly. A small sample check would have prevented rework.